
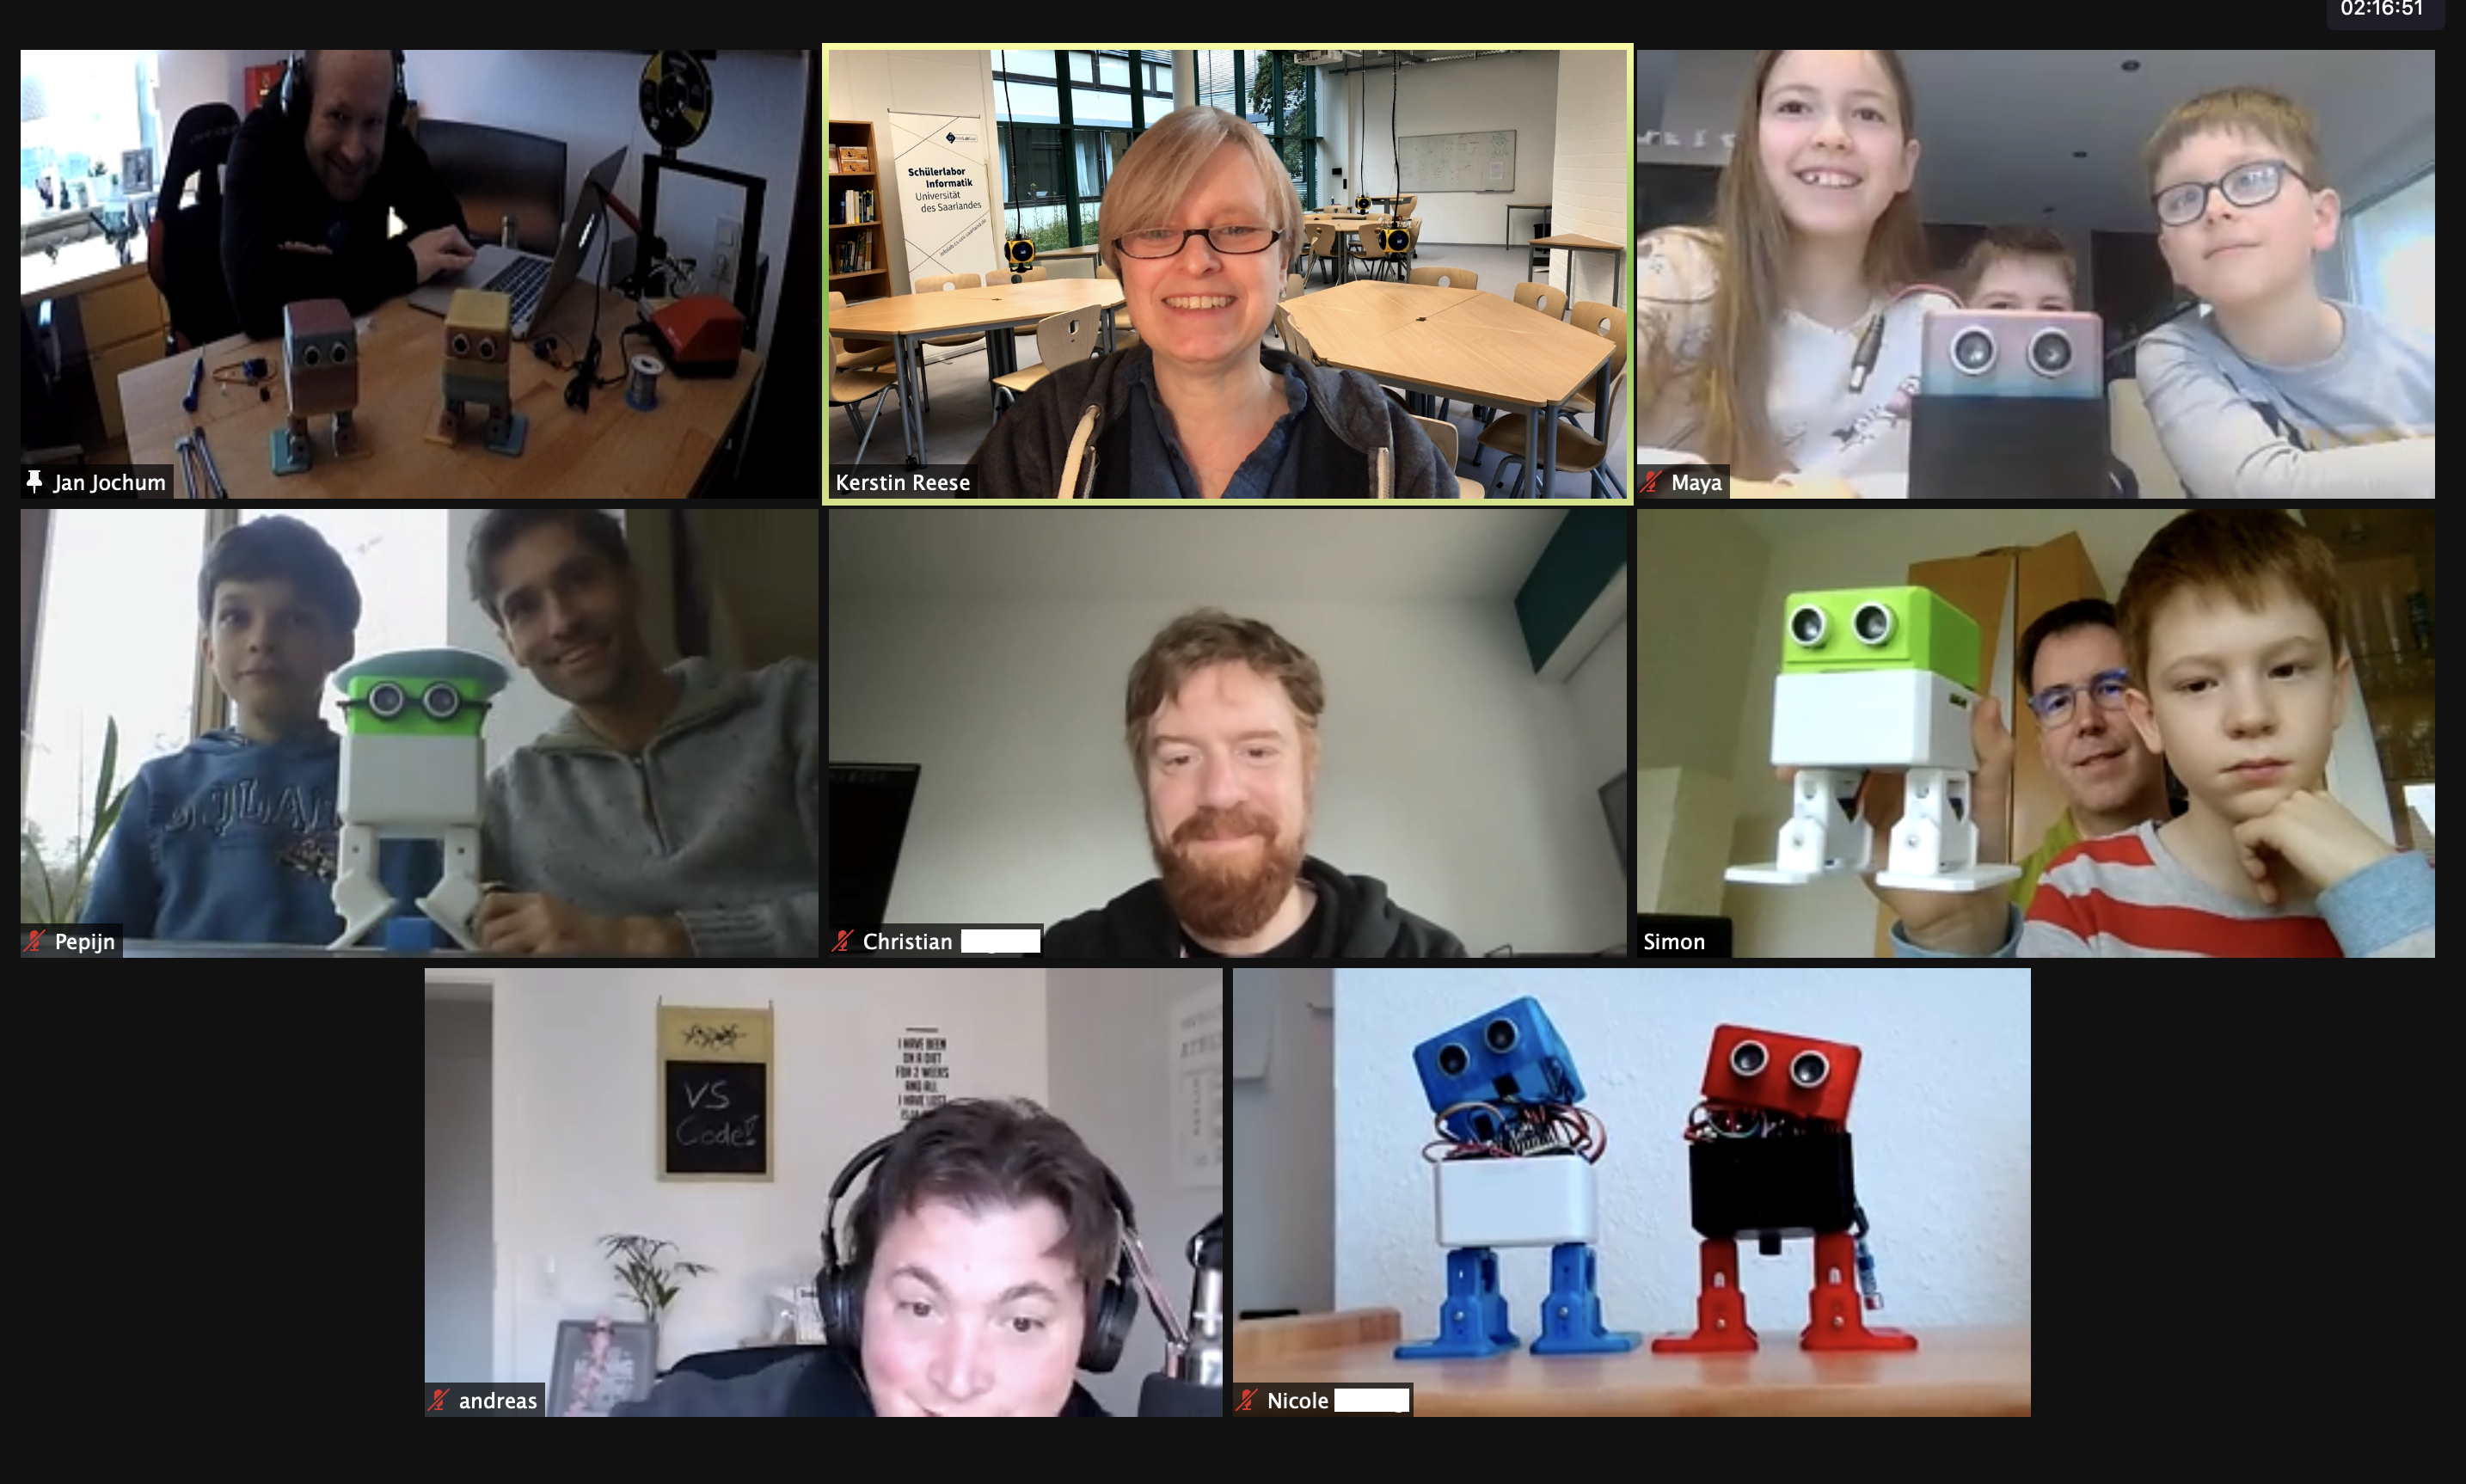
Die Teilnehmer aus der Otto-Info-Veranstaltung aus dem Februar konnten heute gemeinsam ihren Roboter aufbauen. Unser Mentor Jan Jochum hat auch Fragen zu Hard- und Software beantwortet. Das hat soweit gut funktioniert. Es gibt jetzt ein paar mehr Otto-Roboter im Saarland!
Aufbauanleitung
OttoDIY_Manual_V09_A6Links aus der Videokonferenz
- https://www.amazon.de/gp/product/B078S8BJ8T/
Ersatz für den Arduino Nano, falls nötig - https://github.com/OttoDIY/OttoDIYLib
- Online Blockly Editor: https://ottodiy.github.io/blockly/www/
- Blockly Repository: https://github.com/OttoDIY/blockly
- Treiber: https://sparks.gogo.co.nz/ch340.html
Download Arduino IDE software for free here
     Install Arduino IDE software in you computer.
     Download the Otto libraries that are here
     Open Arduino IDE, navigate to Sketch > Include Library > Add .ZIP Library. At the top of the drop down list, select the option to "Add .ZIP Library''. (Make sure to add the right .zip folder that have only the libraries not the whole documentation)
     You will be prompted to select the library. Navigate to the .zip file's location, that you just downloaded and open as it is.
     Return to the Sketch > Include Library menu. menu. You should now see the library at the bottom of the drop-down menu. That means is ready to use Ottos codes!
     Connect your Otto through USB.
     Select in Arduino Tools/
     Board:            “Arduino Nano”
     Processor:     “ATmega328 (Old bootloader)"
     Port COM# (where your Otto is connected)*
     Open in File/Examples/OttoDIYLib/dance/Otto_allmoves_V9.ino
     Check/Upload the code and your Otto will move!
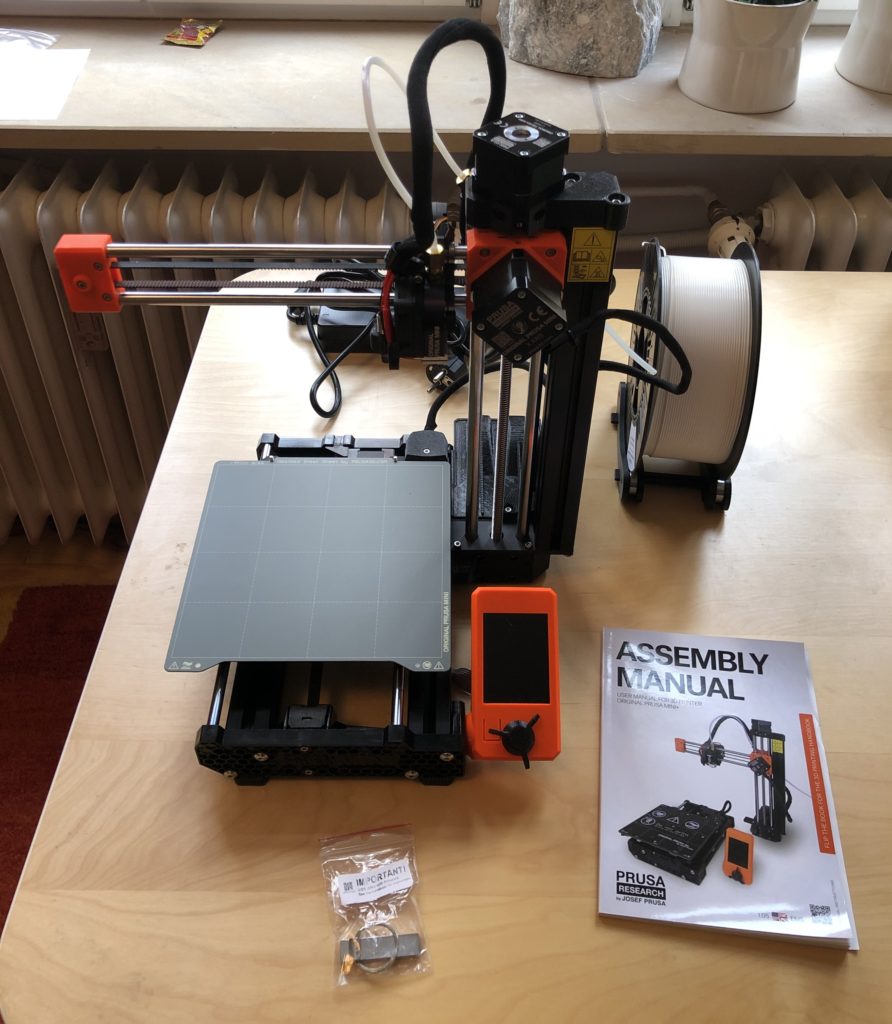
3D-Drucker Auswahl
- Prusa Mini
- Ender 3 V2 – günstiger